The Deadlift and YOU!
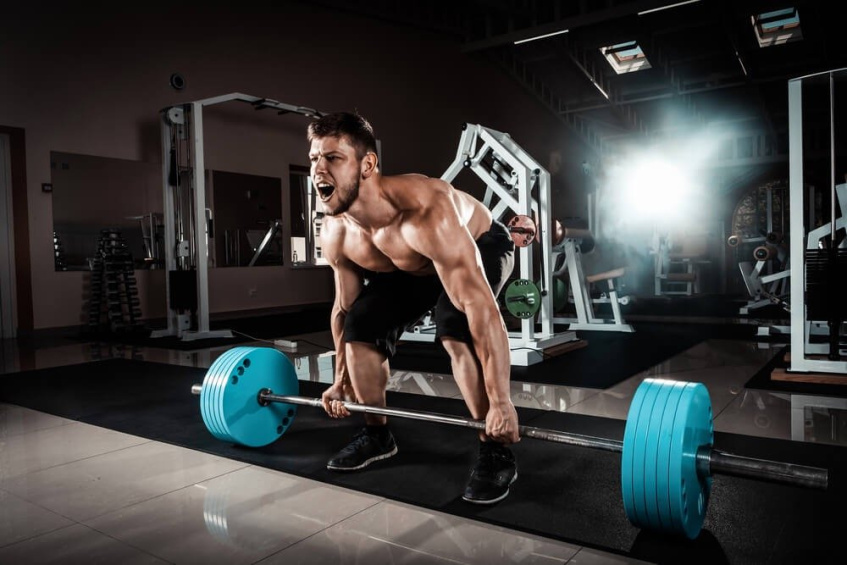
While there are multiple versions of a deadlift, today we will be focusing on standard, traditional, feet-under-hips, hamstring-loading, chalk-dust-flying, hand-callous-forming, butt-building deadlifts. If this doesn’t bring up a vivid image in your mind, here you go:
Today, I’ll have you concentrate positioning of your feet, hips, knees, shoulders, lats, hands and neck while lifting.
This little tidbit of information isn’t being written to tell you the “right” way to do a deadlift. Because in all seriousness, lifts like the deadlift should be done in a way that is most comfortable and safe for you to perform. So the majority of the time today will be spent telling you the things that EVERYONE agrees is WRONG in a deadlift instead of some form-differences that half the world agrees on, while the other half is undecided.
The “no-nos”
- The rounded back
- Feet too wide or narrow causing internal rotation of knees
- Neck under tension
The fixes or “cues”
- The rounded back:
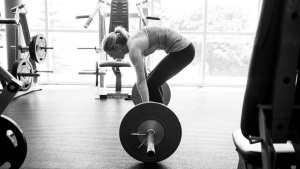
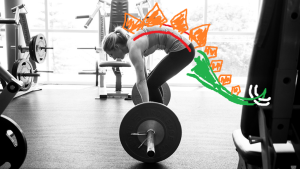
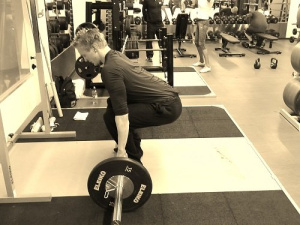
This is Stephanie the Stegosaurus…. poor Stephanie. I’m sure you can see that Stephanie’s back is all sorts of rounded. When we deadlift, we want what is known as a “neutral spine.” Here is a great example of neutral spine:
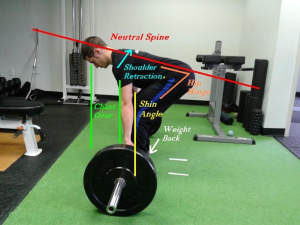
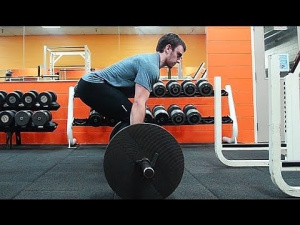
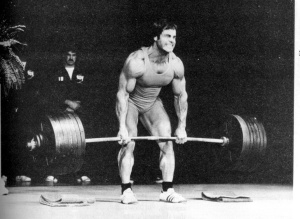
Notice how Handsome Harry has a wonderful straight line drawn from his hips to the base of his neck. This is “neutral spine.” Handsome Harry’s friend, Neutral Nick also has a neutral spine, but you can see one major difference: the height of their hips. One last thing about how they are both positioned: The bar is very, very close to their shins. The farther out the bar is from you when you pull up, the more your back will round, trying to compensate for bad positioning. Here is where we dive into some of the things to fix your neutral spine issues:
- Hand placement: Here is the hang-up: “Do I hold the bar overhand with both my hands? Do I switch one hand overhand and one underhand?” When you pull with a deadlift, the direction of your hands say a lot of how it will pull on your body. Two hands overhand will cause both of your shoulders to pull forward automatically, but it will be even. When you pull with one hand over and the other under you will have conflicting pulls on your shoulders, traps and back.
Here’s the answer: whatever is comfortable. However, comfortable pertains to form. So if you try to lift and your shoulders pull forward and cause your back to “round,” it’s time to bail. If you lift with both hands overhand, you would be actively working on your grip strength and endurance while deadlifting. If you flip your two hands, it would be easier to grip as the bar wouldn’t have a direction to escape your fingers. Remember, the way your hands are placed allows you to keep your shoulders pinned back and your spine straight. - Shoulder placement: You should feel as if you are trying to pinch a pencil between your shoulder blades. If you feel as though you’re hunched over and your back is rounded, you should allow your traps to relax. Another way to help keep your shoulders pinned back is to activate your lats, (Latissimus dorsi) — those muscles in your back under your armpits that you use when you’re doing pull-ups.
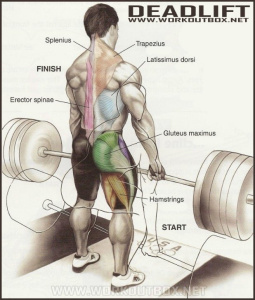
- Foot placement: Have you ever seen people pull a deadlift and their arms were touching their legs? Or they were extremely wide? Or any other kind of pull you’ve seen on “CrossFit Fails” videos where their legs looked to be doing something strange? Well because we are talking about traditional deadlift right now, there is only one answer to the question, “Where do my feet go?” UNDER YOUR HIPS! or just a little wider. The reason is so that we can create a proper form of tension throughout our knees when we are driving through our heels and pulling up. When pulling a deadlift, If your knees look like the ones on the left of the photo, you’re probably on your toes due to weight being too far forward, rounding your back because you’re off balance and generally questioning all of your life decisions up to the point where your spine snaps. FEAR NOT!
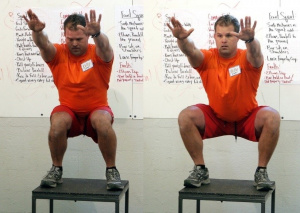
Quick fix: While you are standing with your feet under your hips, try keeping your toes pointed forward and rotating your knees outward, but don’t let your feet slide. Feel that? Your heels driving into the floor, your butt muscles turning on — what a beautiful sensation.
- Neck tension: Quite simply put, neck tension is what I’m talking about when you see someone try to pull a deadlift from the ground and you can see their face straight-on making a screaming facial expression at you while you’re on the elliptical. Or this…
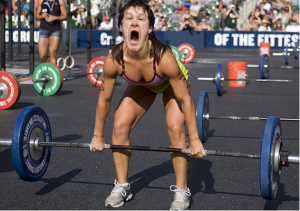 When it comes to your neck and face, relax it. When you are at the bottom of your lift, you should be staring at the floor. And as you stand up, your neck should stay in that neutral position so that at the top of your lift, you are now looking forward. Also, another neck issue is trying to “check your form” by looking sideways into a mirror. STOP! It’s awful for you, your neck and your form. If you want input on your form, ask a trainer, someone who you’ve seen deadlift correctly or just ask someone to check on the cues you’ve learned here today and you will be fine.
Wrap it up:
So you now know that a correct deadlift starts from the ground up, making sure that your feet are spaced properly allowing your knees to track out and not inwards. You understand that a neutral spine is a happy spine and that your hand placement (underhand or overhand) has different consequences for how you are lifting. And you always need to be able to keep your shoulders pinched together from the beginning to the end of the movement. AND, no one wants to be screamed at while you are lifting, so keep your neck calm and ask a stranger for help with form. Who knows, maybe you’ll make a deadlifting buddy. So now that you know the pieces to a standard deadlift let’s put them into action.
First off, you’re standing facing the middle of the bar. You space your feet out to just outside of your hip width. Next, you’re going to bend your knees slightly, remember just enough to help lower you down — but we are NOT going into squat depth. After your knees are bent, you are going to hinge at your hips, letting your upper body position itself over the bar almost parallel to the floor while you push your butt back, creating tension in your hamstrings. Once you’re in your correct bent-over position, grasp the bar, hands outside shoulder width and remember to pinch your shoulder blades back and allow your lats to turn on.
Now the tricky part: You’re going to stand up. When you lift, we always make sure to be driving through our heels of our feet, not our toes. Driving through our heels ensures that we’re using our glutes and hamstrings. Once you begin to rise, the weight will want to pull you forward. Remember to keep those shoulders back with a “big chest” while you continue to pull that bar up along the front of your legs, keeping it as close to you as possible. Last thing to remember as you are standing up is to make sure you are extending your KNEES and your HIPS at the same time. We aren’t doing straight leg deadlifts.
Wow! Way to go! You made it to the top. Now what? Well, you can either drop it like a mic at a rap battle OR you can continue to deadlift by running through the motion backwards. Allowing the bar to slide down the front of your legs while you bend your knees slightly and push your butt back until the weight is all the way back onto the floor. Never stop short of the floor in standard deadlift.
Congratulations, you are no longer a Stephanie Stegosaurus. Oh, and also try to remember to check your ego before you do things like squats, deadlifts or bench press — any lifts for that matter. The most important thing in the gym: Lifting free weights has and always will be about safety. So lift to better yourself, not to impress a bunch of strangers. In time, your weights will become heavier — as long as you maintain proper lifting form.
https://www.dieselcrew.com/how-to-deadlift-deadlifting-techniques

